
This One's For Shopaholics!
Lots of clothes labels are attached by pretty ultra thin ribbons now, not the nasty kimball tags. I can't bear to bin these, and save them for card making.
Can you remember the days of going out in something new.......and having the prickly end of the kimball digging into you! Okay...I know I could have used scissors and removed it properly...but that's too grown up!
Love to you Crafters out there
Hilary aka Crafty Hils
Tuesday, 24 November 2009
Sunday, 22 November 2009
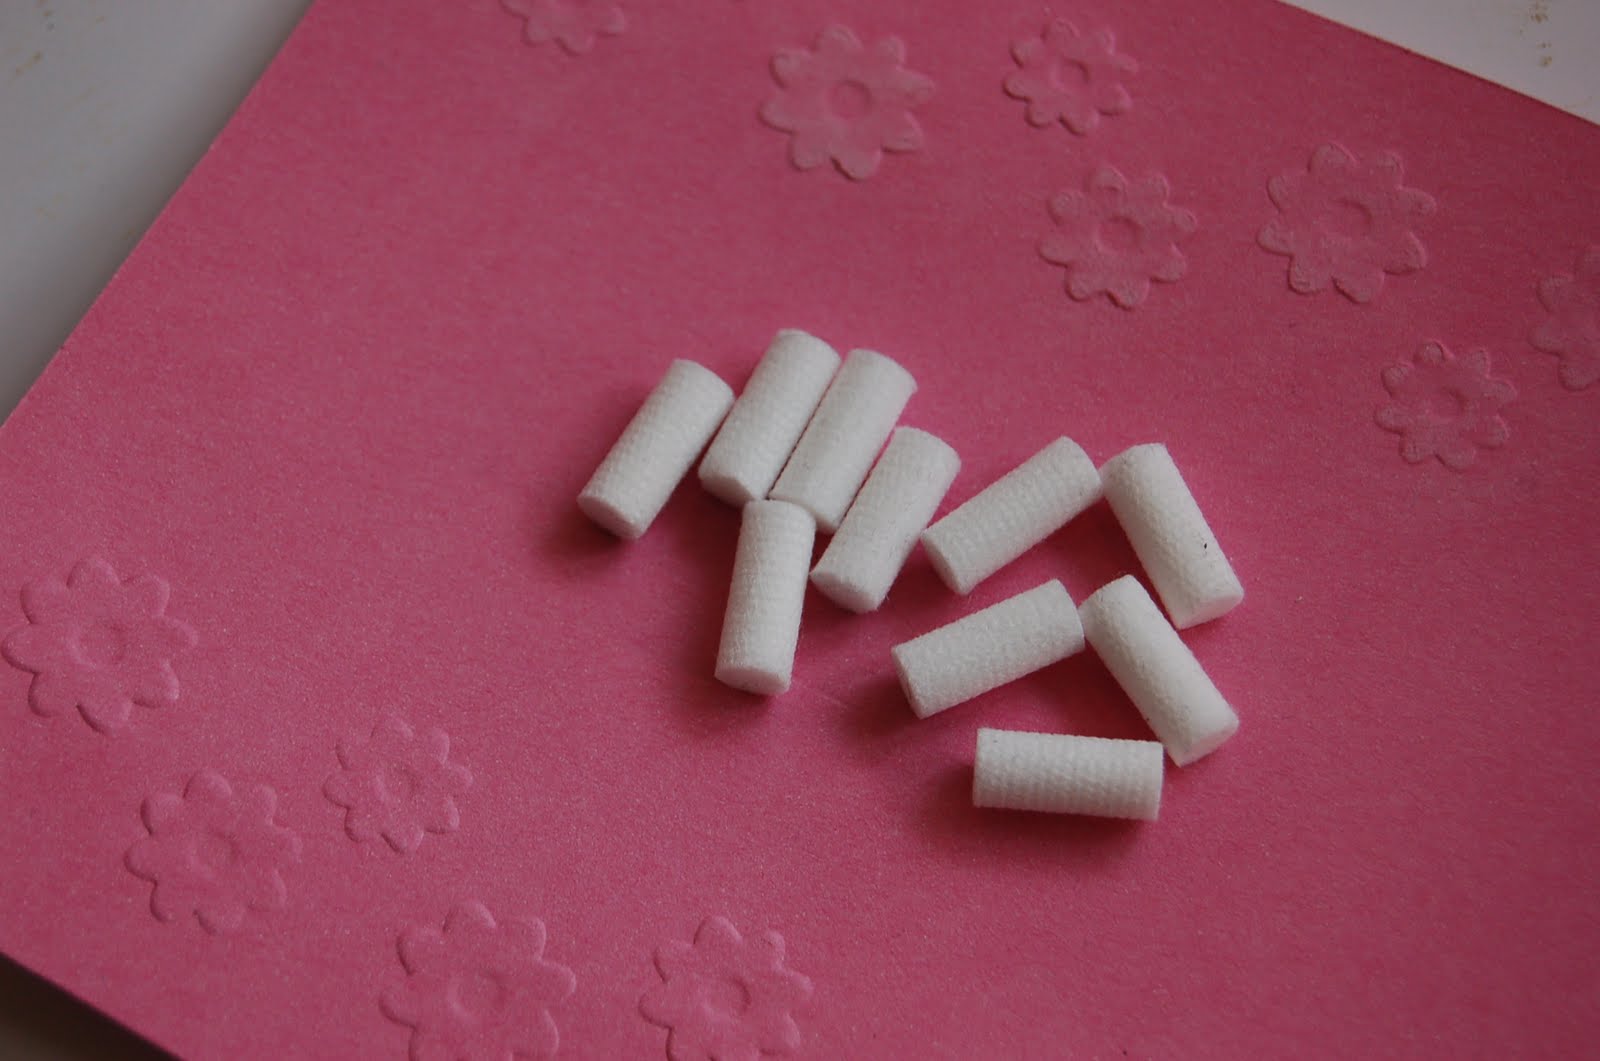
Cigarette Filters
Okay, this was a weird one to use - but I was cleaning out the kitchen and found them from when Nicky used to smoke. Popped them in the bin, then fished a few back out again when I realised how useful they would be! Of course. And I haven't even used them for all the things I think they would be great for.

You can cut them into a point, brilliant for applying glue where you need a tiny or delicate amount.

They also pick up ink from your inkpad so you can draw and colour tint fantastically. They soak up water, so you can use them with mica powders to paint with! And there's loads in one box. Pop them on the end of a pricking tool or a tool with a crocodile clip to help hold them.

I used one cut length ways to create a Christmas Tree, by just sweeping ink picked up from the inkpad across my card. I then cut another one to a point, dipped it into water and picked up powders directly to paint with.
I then picked up glue with another one cut into a fine point, which I then popped my micro beads on.
These are great - I haven't even tried them with alcohol inks yet, but bet they are fab - and they are cheap!
Go forth and play........


Wednesday, 18 November 2009
Staz on tip for Acrylic stamps
I learnt this tip quite some years ago. It works and saves pounds. Acrylic stamps don't really like being cleaned with StazOn cleaner. The ingredients in the cleaner eventually attack the acrylic. So, as a general rule, you are advised not to use Stazon ink pads with them. However, if you use a clear ordinary ink pad on the stamp first, then ink it up with your Stazon ink, you will be stamping your image with the Stazon ink but can clean your stamp with a baby wipe because the clear ink pad is the one in contact with the stamp. Easy peesy - if you can follow my rambling!!
Hope this is a neat enough tip for the blog.
Luv Joanne xx
Hope this is a neat enough tip for the blog.
Luv Joanne xx
Sunday, 15 November 2009
Tip from Dee

Dee
Friday, 6 November 2009
EMBOSSING
Some time ago I collected the fancy fronts to air fresheners and used them to dry emboss through. They work with chalks too but are a bit more difficult as they do not lie flat, but it works if you take care.
luv Joanne
http://mytobyjug.blogspot.com
xx
luv Joanne
http://mytobyjug.blogspot.com
xx
Wednesday, 4 November 2009
Grasses and spritzing
I saw an article recently in the Craft Stamper which I really liked, and meant to try but never got round to it - so nows the perfect excuse.
Easy to do, but messy and fun. Pick some lovely dried grasses, seed heads, interesting branches etc. You want something that looks interesting, but your collecting freebies - so this is the perfect time to really experiment and play.
Hold you seed head to your card, try to get it as flat as possible to your card, and spritz. I used a couple of colours - try lots of different spritzers, from shimmery ones to the plain dyes.
Allow them to dry naturally, then you have a lovely image to make into your card. I made it very plain and simple as I didn't want to take the emphasis from my image.
Spritz away.

Sorry, my photo wasn't very clear - the shimmer was very shimmery and my light to bright.

xxxx
Coffee
Someone mentioned coffee? Mmmmm, smells great, and I had some already brewing.
Coffee is great for colour tinting your card, either poor your brewed coffee onto your card and leave it to dry, or wet your card and sprinkle on your coffee grains - which melt into beautiful smelling wonder tint with varying tones. Lovely.

Coffee is great for colour tinting your card, either poor your brewed coffee onto your card and leave it to dry, or wet your card and sprinkle on your coffee grains - which melt into beautiful smelling wonder tint with varying tones. Lovely.

Monday, 2 November 2009
Perfume Packaging
Hi Leonie..
its great that you have started the blog for cost cutting and time saving ideas etc.
One idea I have which I have used quite a lot is to use the packaging off perfume for both atcs and cards..both the outside packaging which is often lovely satin card and the corrugated inside which is good layered up as it matches. I have used them like this with wire creations such as a dragonfly with tiny beads on.
It might even still retain the perfume!
bye for now,Dee x..
Sunday, 1 November 2009
Time for Tea
My first post is probably something all of us have thought about, or had a go at, and it's something that I was inspired to do again as we are using tea leaves at the moment, and I hate just throwing them away. Tea of course has it's distinctive colouring - which is great for dying your papers and cardstock.
Take wet tea leaves and leave them on your card to dry. The longer left, or the wetter the leaves, then the darker the shade you can obtain. Alternatively you can pop your left over tea (without the milk), into a spritzer bottle. Mix with some pearlescent powder if you want a shimmer, and spritz. The more layers of tea you spritz, the darker tone can be achieved.
If you want an even finish, allow the spritzed tea to dry natural, if you want something more startling try drying with a heat tool:
Step one, spritz the tea so you have puddles on your card:

Using your heat gun, force the puddles into the card, and hold that position so the drip doesn't fly off around the cardstock:

The place the tea is forced to dry in will result in a darker result - keep spritzing and drying until you are happy with the result. You can of course "chase the drip", all over your card and you will get veins of colour - looks ace.
The samples below show the various depths of colour that can be achieved - just with a good ole cuppa!

The resulting card can then be used for the perfect backing material for all your cardmaking and stamping projects - just the job for that distressed look (on the cheap!)

Welcome........
Just a little note to outline our aim for this blog. Obviously to have fun - goes without saying, but we thought it would be good to have somewhere to share idea's on how we are/what we are doing to save time and money when crafting and creating. I always say I'm abit of a "tight" crafter, and someone asked me to pop my tips on a blog - so viola, here it is.
Of course I know everyone has tips, idea's and suggestions - so make this the place to share them with everyone else. "The critical collective cutting corner crib"
So, what do we want? Things you do to save a penny or two. Tips on saving time. Recycling "stuff". You suggestions which you know other folk would just consider "tight".
Share, learn and have fun.
xxxx
Subscribe to:
Posts (Atom)

